

Issuing Purchase Invoice in ERPNext
Guide
IMPORTANT: A Purchase Receipt (PR) is maybe required in order to issue a Purchase Invoice (PI).
From Single Purchase Receipt
Log into your ERPNext account
2. Click on Stock > Purchase Receipt

3. Search for the particular PR you want to create a Purchase Invoice (PI) for. Open the completed PR form by clicking on it
4. On the upper right hand corner of the screen, click on ‘Create’ and select Purchase Invoice. This will create a new, unsaved Purchase Invoice that imports the information found in the Purchase Receipt
5. Enter the Supplier Invoice under Supplier Invoice No. and the Supplier Invoice Date in the Supplier Invoice Details section. This is useful for referencing the invoice number of your supplier.
6. Under the item table, modify the unit quantity for each item. Note that you cannot invoice more than the quantity originally entered in the PR
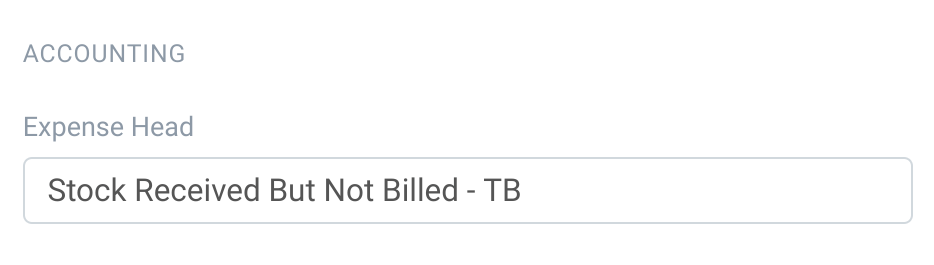
7. Update & view the expense account and cost center by clicking on the dropdown arrow in the item row . In Editing Row window, go to Accounting. By default, the expense head is carried over from the PR. Select the expense account accordingly.
Click anywhere outside the window to go back to Purchase Invoice screen.
8. Modify the remarks if needed; remarks are initially carried over from the PR
9. Go to More Information, select the account where invoice should be credited to (e.g. Accounts Payable / Creditors)

10. Click ‘Save’ or press CTRL+S to save the document. Note that this does not finalize the document yet. Instead, the purchase invoice is still in draft status
11. Review the draft. If everything is final, click on ‘Submit’ or press CTRL+S to submit and finalize the Purchase Invoice
12. You can print the Purchase Invoice by clicking on the ‘Printer’ icon found in the top right hand of the screen
13. Save to print (or print directly from Chrome) the PDF for printing or emailing
From Multiple Purchase Receipts
Log into your ERPNext account
2. Click on Buying>Purchase Invoice

3. Click on ‘New’ found on the upper right hand area of the screen
4. Search for or enter the Supplier name under the Supplier field
5. Click on ‘Get items from’ button
6. Select Purchase Receipt; you will be presented with a list of open PRs for that supplier
7. Select the submitted PR forms you want to consolidate into one Purchase Invoice

8. Click on ‘Get Items’ to transfer the details encoded in the selected POs
9. Enter the Supplier Invoice under Supplier Invoice No. and the Supplier Invoice Date in the Supplier Invoice Details section. This is useful for referencing the invoice number of your supplier.
10. Under the item table, modify the unit quantity for each item. Note that you cannot invoice more than the quantity originally entered in the PR
11. Update & view the expense account and cost center by clicking on the dropdown arrow in the item row . In Editing Row window, go to Accounting. By default, the expense account is carried over from the PR. Select the expense account accordingly.

Click anywhere outside the window to go back to Purchase Invoice screen.
12. Modify the remarks if needed; remarks are initially carried over from the PR
13. Go to More Information, select the account where invoice should be credited to (e.g. Accounts Payable / Creditors)
14. Click ‘Save’ or press CTRL+S to save the document. Note that this does not finalize the document yet. Instead, the purchase invoice is still in draft status
15. Review the draft. If everything is final, click on ‘Submit’ or press CTRL+S to submit and finalize the Purchase Invoice
16. You can print the Purchase Invoice by clicking on the ‘Printer’ icon found in the top right hand of the screen
17. Save to print (or print directly from Chrome) the PDF for printing or emailing