Creating Item Variants in ERPNext
Guide
A. Creating an Item Variant
Log into your ERPNext account
2. Click on Stock.
3. Under Items and Pricing, click Item.
4. Click on New.
5. Enter the Item Code (based on your item hierarchy system).
6. Enter the Item Name (something that other people will more easily understand)
7. Enter and choose the Item Group that the item belongs too. Note that there may sometimes be parent groups and subgroups. Each item can only be part of one item group.
8. Enter and choose the Unit of Measure. This should be the standard way your business tracks inventory of this item
9. Check Maintain Stock
For more item settings, click Edit in Full Page.
10. Click Save or press CTRL+S
B. Adding Item Variants
An Item Variant is a version of an Item with different attributes like sizes or colors.
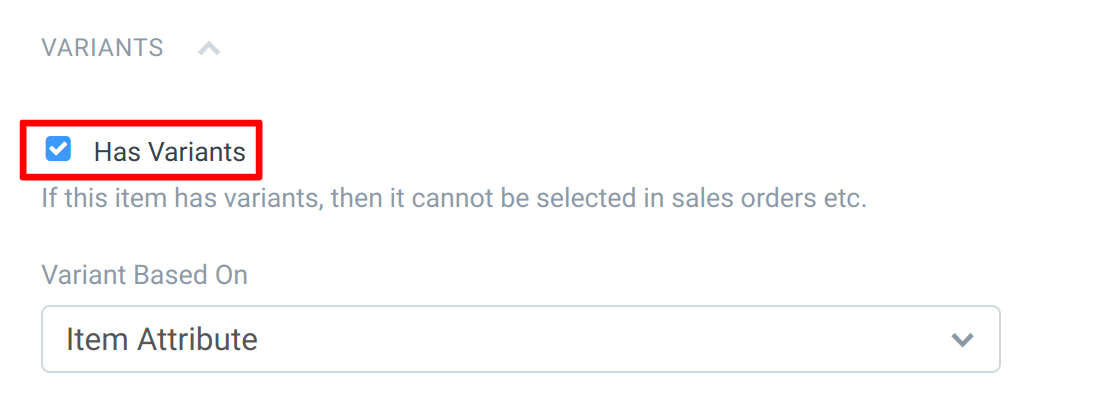
To create Item Variants in ERPNext, create an Item and tick 'Has Variants' under Variants. Alternatively, you can also go to Item Master (refer to section A) and select an existing item on the list.
2. The Item then shall be referred to as a so-called 'Template'. Such a Template is not identical to a regular 'Item' any longer. For example, it (the Template) cannot be used directly in any transaction (Sales Order, Delivery Note, Purchase Invoice) itself.
3. On selecting 'Has Variants' a table will appear. Specify the variant attributes for the Item in the table. In case the attribute has Numeric Values, you can specify the range and create intervals based on the increment values.
4. After selecting the attribute and attribute values, click Save. Notice that the original item will be made as Template and new item codes will be created per the Attribute value selected.
Reminder: Only the Variants of the Item (blue t-shirt in size small) can be practically used. Therefore it would be ideal to decide whether an item 'Has Variants' or not directly when creating it.


